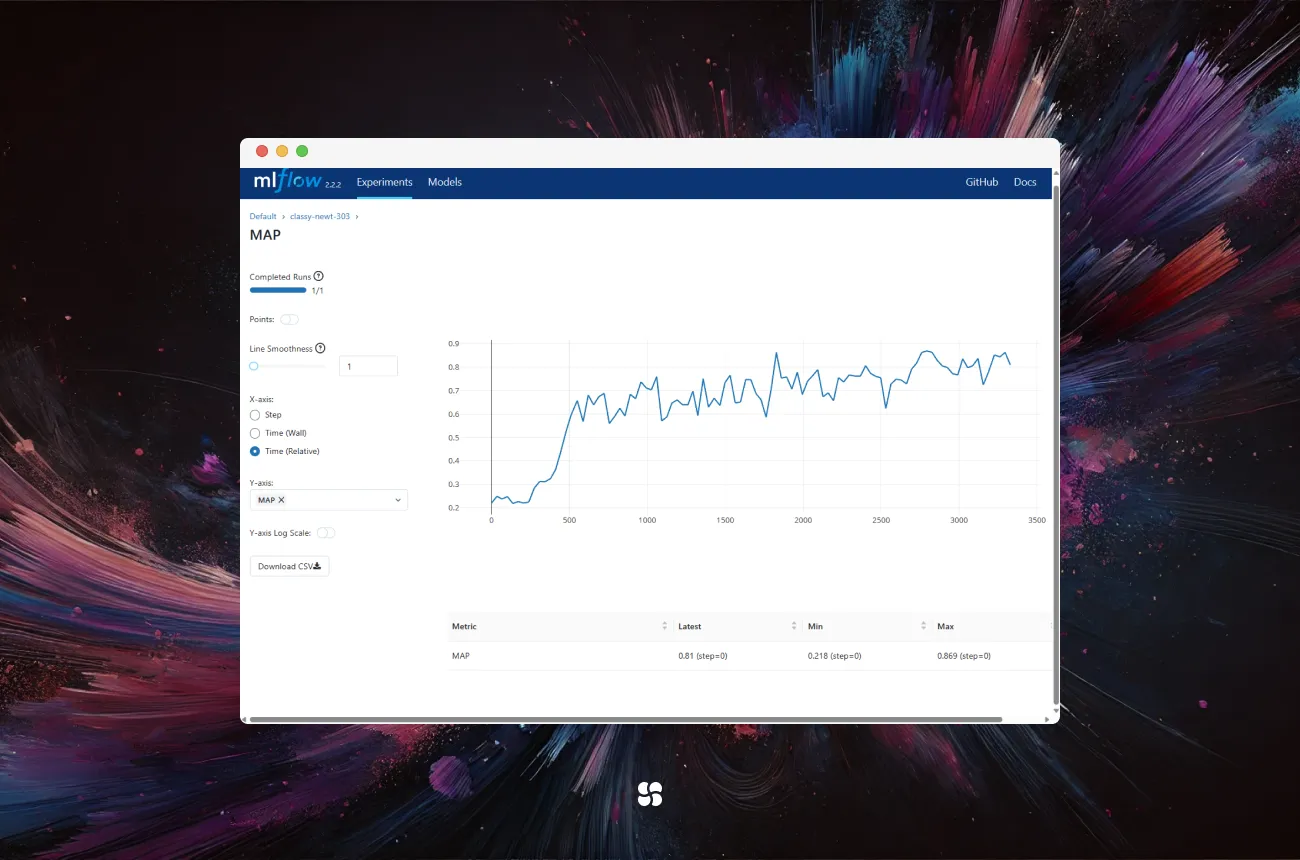
MLflow Uncovered: Streamlining Experimentation and Model Deployment

Machine learning workflows can quickly become complex when managing experiments, tracking parameters, and deploying models. MLflow is an open‑source platform designed to simplify and standardize these processes. In this article, we’ll introduce MLflow, highlight its benefits, and provide a comprehensive guide—from setup to a full code‑driven example that builds a simple agent.
1. Presentation of the Framework
MLflow is built around four key components:
• MLflow Tracking: Record and query experiments, capturing parameters, metrics, and artifacts.
• MLflow Projects: Standardize your code with a reusable, reproducible format.
• MLflow Models: Package models in diverse formats and deploy them across different environments.
• MLflow Model Registry: Manage the full lifecycle of models with versioning, stage transitions, and annotations.
By integrating these components, MLflow enables teams to collaborate, reproduce results, and move seamlessly from experimentation to deployment. This unified approach is especially valuable in environments where rapid iteration is key.
2. Benefits of MLflow
Using MLflow brings several advantages:
• Reproducibility: Every experiment run is logged and versioned, so you can recreate results anytime.
• Collaboration: Teams can share experiment details and models through a centralized repository.
• Flexibility: MLflow integrates with numerous ML libraries and deployment tools, making it a versatile choice.
• Ease of Deployment: With the Model Registry and a standardized packaging format, deploying a model to production becomes less error‑prone and more efficient.
These benefits translate to faster iteration cycles and improved collaboration across data science teams.
3. Getting Started
Installation and Setup
The first step is to install MLflow. You can easily do so using pip:
pip install mlflowOnce installed, you can launch the MLflow UI to visualize your experiments:
mlflow uiThis command starts a local server (by default at http://127.0.0.1:5000) where you can monitor runs and view logged artifacts.
First Run with MLflow
Let’s kick off your first experiment run. Here’s a simple Python snippet that demonstrates how to log parameters, metrics, and a model:
import mlflow
import mlflow.sklearn
from sklearn.datasets import load_iris
from sklearn.model_selection import train_test_split
from sklearn.ensemble import RandomForestClassifier

# Load dataset and split
data = load_iris()
X_train, X_test, y_train, y_test = train_test_split(data.data, data.target, test_size=0.2, random_state=42)

# Start an MLflow run
with mlflow.start_run():
    # Define and train the model
    clf = RandomForestClassifier(n_estimators=100)
    clf.fit(X_train, y_train)

    # Evaluate the model
    accuracy = clf.score(X_test, y_test)

    # Log parameters and metrics
    mlflow.log_param("n_estimators", 100)
    mlflow.log_metric("accuracy", accuracy)

    # Log the model artifact
    mlflow.sklearn.log_model(clf, "random_forest_model")

    print(f"Logged model with accuracy: {accuracy:.2f}")
This example shows how MLflow can encapsulate an experiment run—from training to model logging—in just a few lines of code.
4. Step-by-Step Example: Building a Simple Agent
Now let’s build a “simple agent” that performs a defined task (here, a model predicting outcomes) while tracking every experiment detail with MLflow.
Step 1: Define the Agent’s Task
Suppose our agent predicts a target variable from a dataset. We use a simple regression model to simulate an agent’s decision process.
Step 2: Set Up the Experiment
Begin by loading your data and splitting it into training and test sets. For illustration, we’ll use synthetic data.
Step 3: Train, Evaluate, and Log with MLflow
Here’s the complete code snippet:
import mlflow
import mlflow.sklearn
import numpy as np
from sklearn.linear_model import LinearRegression
from sklearn.metrics import mean_squared_error
from sklearn.model_selection import train_test_split

# Create synthetic data: y = 2*x + noise
np.random.seed(42)
X = np.random.rand(100, 1) * 10  # 100 samples, values between 0 and 10
y = 2 * X.squeeze() + np.random.randn(100) * 2  # linear relationship with noise

# Split data
X_train, X_test, y_train, y_test = train_test_split(X, y, test_size=0.2, random_state=42)

# Start an MLflow run
with mlflow.start_run():
    # Define and train the model (our simple agent)
    agent = LinearRegression()
    agent.fit(X_train, y_train)

    # Make predictions and calculate metrics
    predictions = agent.predict(X_test)
    mse = mean_squared_error(y_test, predictions)

    # Log parameters and metrics
    mlflow.log_param("model_type", "LinearRegression")
    mlflow.log_metric("mse", mse)

    # Log the trained model
    mlflow.sklearn.log_model(agent, "linear_regression_agent")

    print(f"Agent trained with MSE: {mse:.2f}")
What’s Happening Here?
• Data Preparation: Synthetic data is generated to mimic a simple linear relationship.
• Model Training: We create a LinearRegression model—the “agent” that learns the data’s underlying pattern.
• Experiment Logging: Using MLflow, we log the type of model, the mean squared error (MSE) as our evaluation metric, and the model artifact itself.
• Outcome: The logged run can now be inspected via the MLflow UI to compare with future experiments.
5. Final Thoughts
MLflow offers an elegant solution to the challenges of managing the machine learning lifecycle. By simplifying experiment tracking, model management, and deployment, it allows you to focus on building better models faster. Whether you’re a solo practitioner or part of a larger team, integrating MLflow into your workflow means more reproducible, collaborative, and scalable machine learning projects.
As you continue to explore MLflow, consider diving deeper into its advanced features—like the Model Registry for production deployments—and integrating it with your CI/CD pipelines. Happy experimenting and deploying!
Cohorte Team
March 11, 2025

