Mastering YOLO11: A Comprehensive Guide to Real-Time Object Detection

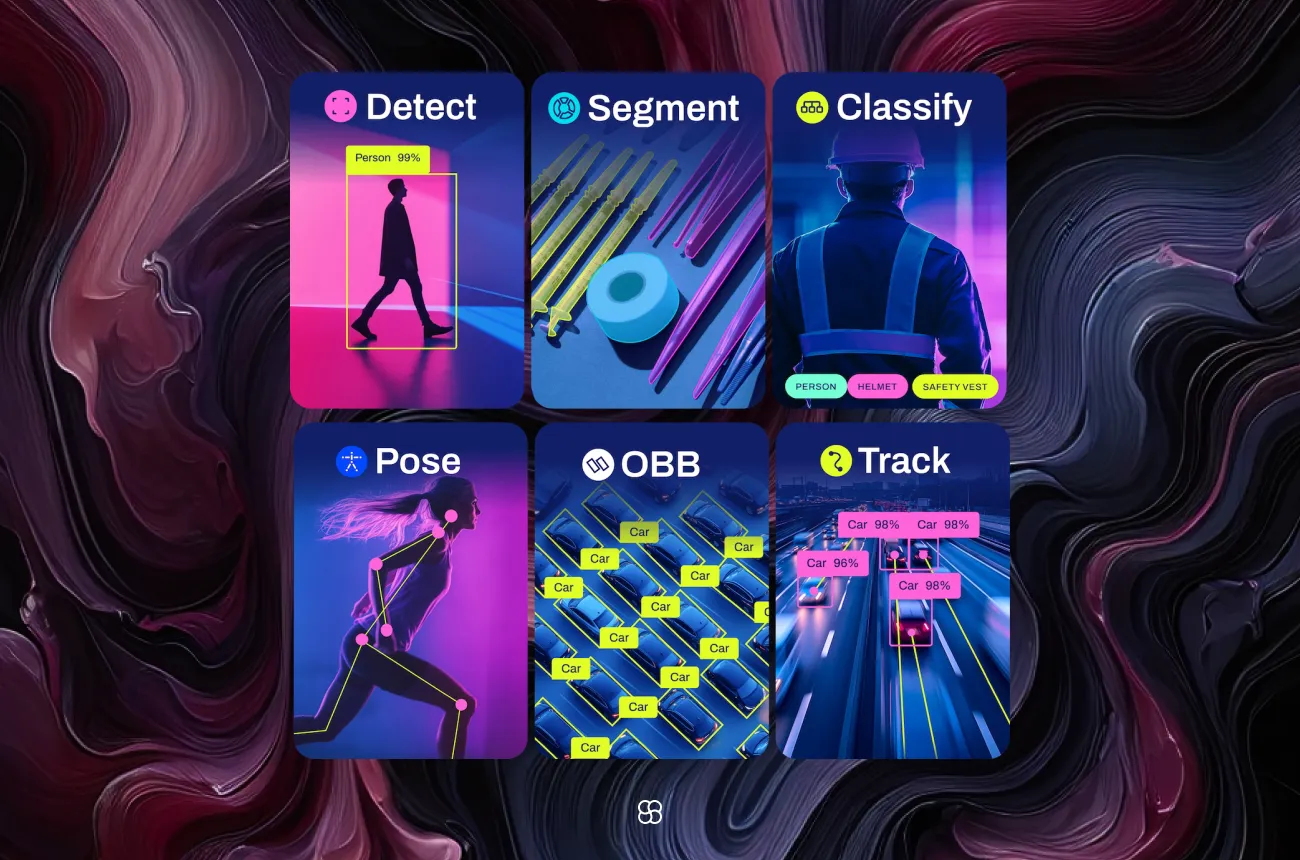
YOLO11, the latest advancement in the "You Only Look Once" series, represents a significant leap in real-time object detection and image segmentation. Developed by Ultralytics, YOLO11 introduces architectural enhancements that improve speed, accuracy, and versatility, making it a powerful tool for various computer vision applications.
Key Features and Benefits
- Enhanced Architecture: YOLO11 incorporates a transformer-based backbone and dynamic head design, resulting in improved feature extraction and object detection capabilities.
- Real-Time Performance: Optimized for speed, YOLO11 achieves up to 60 frames per second (FPS) with high mean Average Precision (mAP), making it suitable for applications requiring swift processing.
- Versatility: Supports multiple tasks, including object detection, instance segmentation, pose estimation, and image classification, broadening its applicability across various domains.
- Deployment Flexibility: Compatible with diverse platforms, including edge devices, cloud services, and systems utilizing NVIDIA GPUs, facilitating seamless integration into existing workflows.
Getting Started with YOLO11
Installation and Setup
Step 1: Install the Ultralytics Package
Ensure Python is installed, then run:
pip install ultralyticsThis command installs the latest stable release of the Ultralytics package, which includes YOLO11.
Step 2: Verify Installation
Confirm the installation by checking the version:
yolo versionThis command should display the installed version of YOLO, confirming a successful installation.
First Steps
Import and Initialize:
In your Python script, load the model:
from ultralytics import YOLO

# Load a pretrained YOLO11 model
model = YOLO('yolo11n.pt')
This code imports the YOLO class from the ultralytics package and loads a pretrained YOLO11 model.
Run Inference on an Image:
To detect objects in an image:
results = model.predict(source='path_to_image.jpg')
results.show()
Replace 'path_to_image.jpg' with the path to your image file. This script will display the image with detected objects highlighted.
First Run
1. Execute the Script:
Run your Python script:
python your_script.pyThis command will execute the script, and you should see the image with detected objects displayed.
2. Review the Output:
The output will show the image with bounding boxes around detected objects, along with class labels and confidence scores.
Building a Custom Object Detection Agent
Step 1: Set Up Your Environment
Create a virtual environment:
python -m venv yolo11_env
source yolo11_env/bin/activate  # On Windows: yolo11_env\Scripts\activate
This creates and activates a virtual environment named yolo11_env.
Step 2: Install Dependencies
Within the environment, install YOLO11 and OpenCV:
pip install ultralytics opencv-pythonThis installs the Ultralytics package and OpenCV for image processing.
Step 3: Prepare Your Dataset
Organize your dataset in YOLO format:
dataset/
├── images/
│   ├── train/
│   ├── val/
└── labels/
    ├── train/
    ├── val/
Each image should have a corresponding label file in YOLO format, containing the class and bounding box coordinates.
Step 4: Train Your Model
Train YOLO11 on your dataset with a script like this:
from ultralytics import YOLO

# Load a YOLO11 model
model = YOLO('yolo11n.yaml')  # or 'yolo11n.pt' for a pretrained model

# Train the model
model.train(data='path_to_data.yaml', epochs=50, imgsz=640)
Replace 'path_to_data.yaml' with the path to your dataset configuration file. This script trains the YOLO11 model on your custom dataset.
Step 5: Evaluate Performance
Evaluate the model after training:
# Evaluate the model
metrics = model.val()
This provides metrics such as precision, recall, and mAP, indicating the model's accuracy.
Step 6: Deploy Your Model
To deploy your trained YOLO11 model for inference, follow these steps:
1. Load the Trained Model:
Ensure that your trained model weights are saved, typically in a file like best.pt. You can load this model using the Ultralytics YOLO interface:
from ultralytics import YOLO

# Load the trained YOLO11 model
model = YOLO('path/to/best.pt')
2. Prepare the Input Data:
Use OpenCV to read the input image:
import cv2

# Load an image from disk
img = cv2.imread('path/to/your_image.jpg')
3. Perform Inference:
With the model and image ready, run the prediction:
# Perform object detection
results = model.predict(source=img)
4. Visualize the Results:
Display the image with detected objects:
# Display the results
results.show()
This will open a window showing the image with bounding boxes around detected objects, along with class labels and confidence scores.
Applications of YOLO11:
YOLO11's advanced capabilities make it suitable for a wide range of applications:
- Autonomous Vehicles: Real-time detection of pedestrians, vehicles, and obstacles to ensure safe navigation.
- Surveillance Systems: Monitoring and identifying suspicious activities or unauthorized access in real-time.
- Retail Analytics: Analyzing customer behavior, managing inventory, and preventing theft through object detection.
- Healthcare: Assisting in medical imaging analysis, such as detecting tumors or other anomalies.
- Agriculture: Monitoring crop health, detecting pests, and managing livestock through aerial imagery analysis.
Final Thoughts:
YOLO11 represents a significant advancement in real-time object detection and image segmentation. Its enhanced architecture and versatility make it a valuable tool for developers and researchers in the field of computer vision. By following this comprehensive guide, you can effectively set up, train, and deploy a custom object detection agent using YOLO11, unlocking new possibilities in various applications.
Cohorte Team
January 9, 2025

