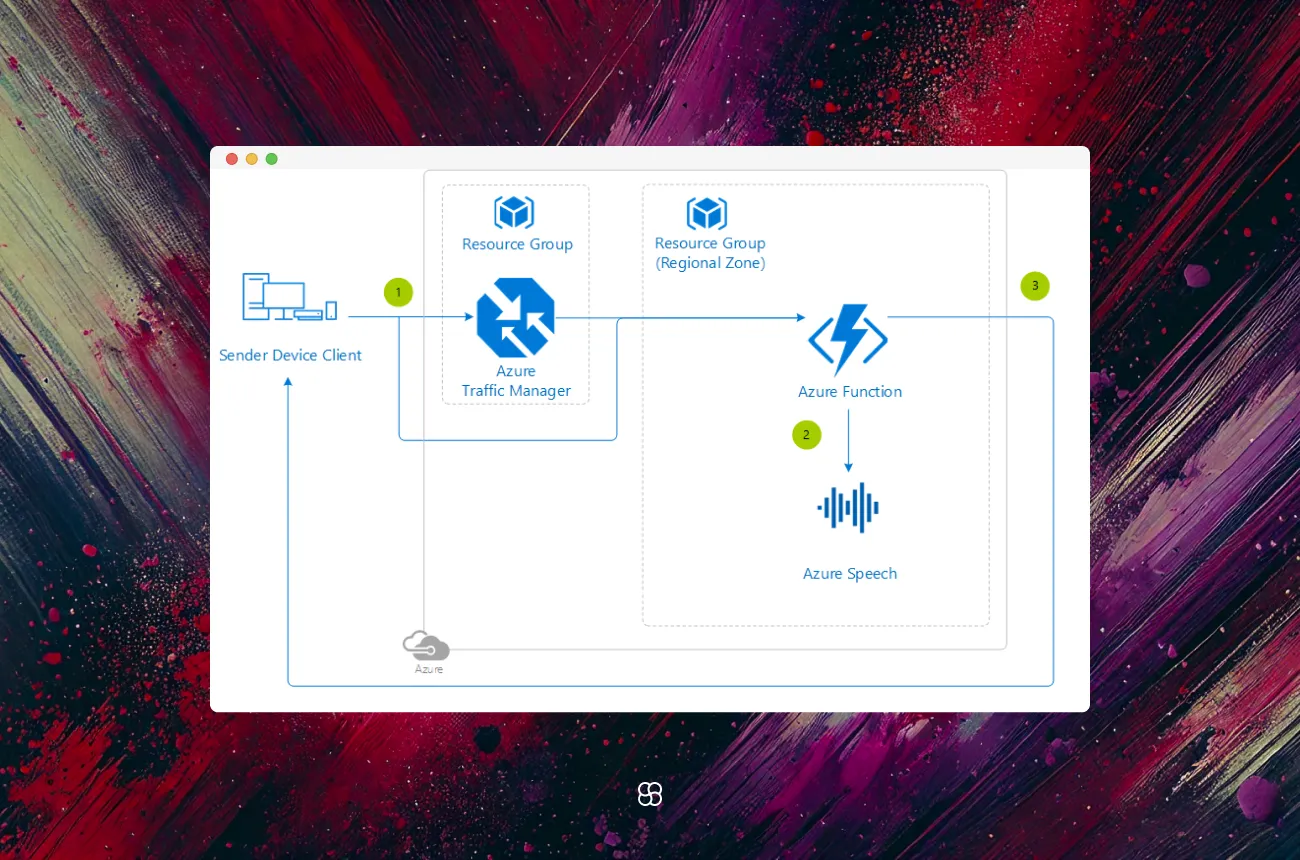
Implementing Advanced Speech Recognition and Speaker Identification with Azure Cognitive Services: A Comprehensive Guide

Azure Cognitive Services' Speech Service offers a comprehensive suite of tools to integrate advanced speech recognition capabilities into applications. Beyond basic speech-to-text conversion, the service provides features such as real-time transcription, batch processing, speaker recognition, and customization options to enhance accuracy and adaptability.
Advanced Features:
- Real-Time Transcription: Ideal for applications requiring immediate transcription, such as live captioning and voice commands.
- Batch Transcription: Efficiently processes large volumes of prerecorded audio, suitable for scenarios like transcribing meetings or call center recordings.
- Speaker Recognition: Identifies and verifies speakers based on unique voice characteristics, enabling personalized user experiences.
- Custom Speech Models: Allows adaptation of the service to specific vocabularies or speaking styles, improving recognition accuracy in specialized domains
Real-World Applications:
- Healthcare: Transcribing doctor-patient interactions for electronic health records, ensuring accurate documentation and facilitating better patient care.
- Customer Service: Analyzing call center conversations to assess customer sentiment, identify common issues, and improve service quality.
- Education: Providing real-time transcription of lectures, making content accessible to students with hearing impairments and aiding in note-taking.
Getting Started:
1. Prerequisites:
- Azure Subscription: Create a free account if you don't have one.
- Development Environment: Ensure Python 3.7 or later is installed.
2. Setting Up the Speech Service:
- Create a Speech Resource:
- Navigate to the Azure Portal.
- Click on "Create a resource" and search for "Speech."
- Select "Speech" and click "Create."
- Fill in the required details, such as subscription, resource group, and region.
- Choose the pricing tier (a free tier is available).
- Click "Review + create" and then "Create."
- Obtain API Keys:
- After deployment, go to your Speech resource.
- Navigate to "Keys and Endpoint" under the "Resource Management" section.
- Note down the "Key1" and "Location" values; you'll need them later.
3. Installation and Setup:
- Install the Azure Cognitive Services Speech SDK:
pip install azure-cognitiveservices-speech- Set Up Environment Variables:
For security, store your API key and region as environment variables:
On Windows:
setx SPEECH_KEY "YourSubscriptionKey"
setx SPEECH_REGION "YourServiceRegion"
On macOS/Linux:
export SPEECH_KEY="YourSubscriptionKey"
export SPEECH_REGION="YourServiceRegion"
Building a Speech Recognition Agent with Speaker Identification:
Objective: Develop a Python application that captures audio from the microphone, transcribes it into text, and identifies the speaker using Azure's Speech Service.
1. Import Necessary Libraries:
import os
import azure.cognitiveservices.speech as speechsdk
2. Configure the Speech Service:
# Retrieve subscription key and region from environment variables
speech_key = os.environ.get('SPEECH_KEY')
service_region = os.environ.get('SPEECH_REGION')

# Create an instance of a speech config with specified subscription key and service region
speech_config = speechsdk.SpeechConfig(subscription=speech_key, region=service_region)
3. Set Up Audio Configuration:
# Use the default microphone as the audio input
audio_config = speechsdk.audio.AudioConfig(use_default_microphone=True)
4. Initialize the Speech Recognizer with Speaker Identification:
# Create a speaker recognizer with the given settings
speaker_recognizer = speechsdk.SpeakerRecognizer(speech_config=speech_config, audio_config=audio_config)

# Define the profile IDs for known speakers
profile_ids = ["speaker1_profile_id", "speaker2_profile_id"]  # Replace with actual profile IDs

# Create a speaker identification model
speaker_model = speechsdk.SpeakerIdentificationModel(profile_ids=profile_ids)
5. Implement the Recognition and Identification Logic:
print("Speak into your microphone.")

# Start speech recognition with speaker identification
result = speaker_recognizer.recognize_once(model=speaker_model)

# Check the result
if result.reason == speechsdk.ResultReason.RecognizedSpeaker:
    print(f"Recognized: {result.text}")
    print(f"Identified Speaker ID: {result.speaker_id}")
elif result.reason == speechsdk.ResultReason.NoMatch:
    print("No speech could be recognized")
elif result.reason == speechsdk.ResultReason.Canceled:
    cancellation = result.cancellation_details
    print(f"Speech Recognition canceled: {cancellation.reason}")
    if cancellation.reason == speechsdk.CancellationReason.Error:
        print(f"Error details: {cancellation.error_details}")
6. Run the Application:
- Execute the script.
- Speak a phrase into your microphone.
- The application will transcribe your speech, display the text output, and identify the speaker.Implementing Advanced Speech Recognition and Speaker Identification with Azure Cognitive Services: A Comprehensive Guid
Final Thoughts:
Integrating Azure Cognitive Services' Speech Service into your applications enables efficient and accurate speech-to-text capabilities. This guide provides a foundational approach to setting up and utilizing the service. For more advanced features, such as continuous recognition, speaker identification, or customization with specific vocabularies, refer to the official Azure documentation.
Cohorte Team
February 18, 2025

