Getting Started with Gemini Pro 2.5: Build a Simple AI Agent

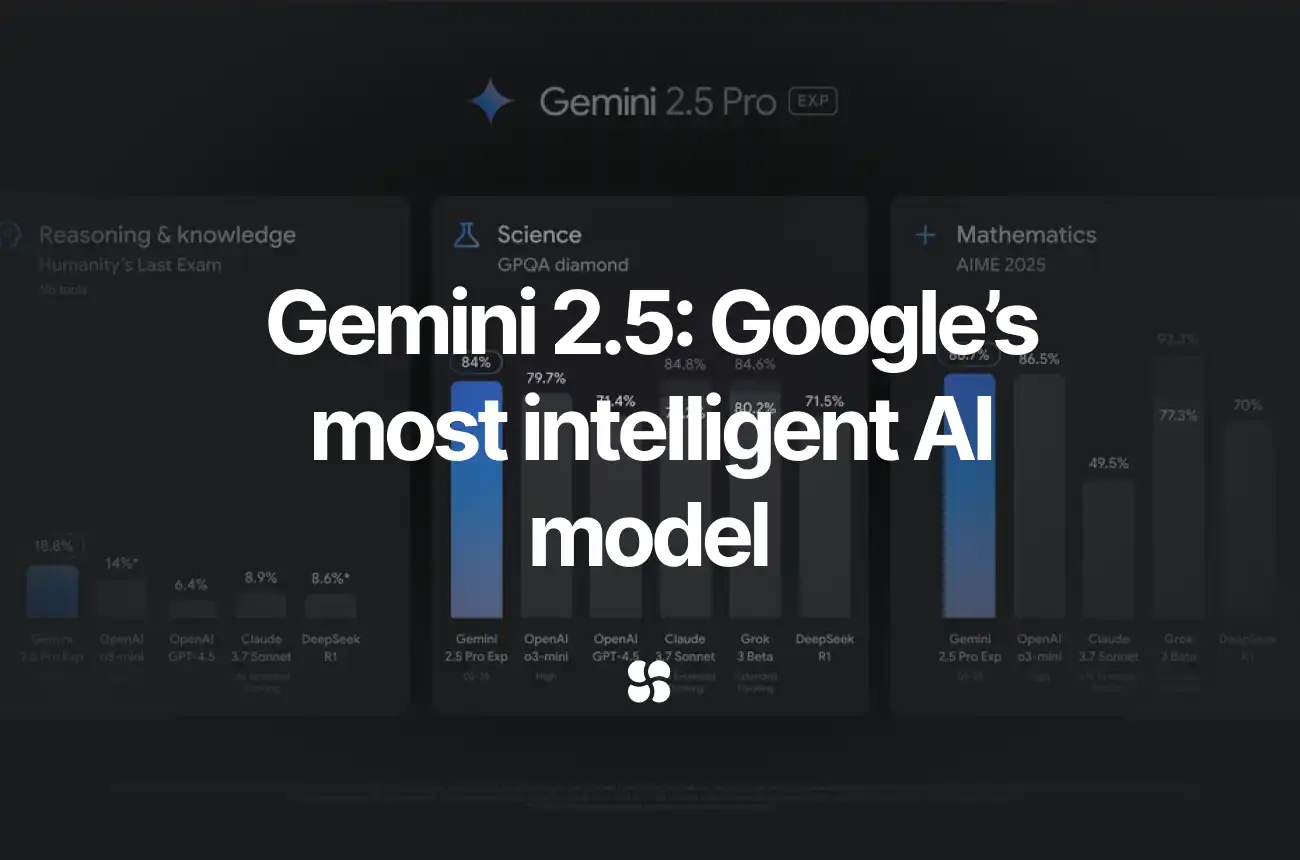
Google DeepMind’s Gemini Pro 2.5 is a new AI model that pushes the boundaries of reasoning and coding. It's Google’s most intelligent AI model (so far). Designed as a “thinking model,” Gemini Pro 2.5 processes complex problems with humanlike step‑by‑step reasoning and supports multimodal inputs—from text to images and code repositories. In today’s guide, we’ll introduce you to the framework, explore its benefits, and walk you through setting up and building your first simple agent. For a full presentation of the model’s capabilities, see the official Gemini presentation and consult the Developer Documentation.
Presentation of the Framework
Gemini Pro 2.5 is part of Google’s Gemini family of models, known for their extensive reasoning capabilities. Key features include:
- Advanced Reasoning: The model employs a “thinking” process, reasoning through complex tasks before delivering a response.
- Multimodal Support: Process text, code, images, audio, and even video.
- Extended Context Window: With support for up to 1 million tokens (and 2 million on the horizon), it can process vast datasets in one go.
- Enhanced Coding Abilities: Ideal for code generation, transformation, and agentic tasks.
These features make Gemini Pro 2.5 a robust tool for developers, researchers, and content creators looking to tackle complex challenges.
Benefits of Using Gemini Pro 2.5
Leveraging Gemini Pro 2.5 provides several advantages:
- Improved Accuracy: The internal “thinking” process refines answers, resulting in more accurate and context-aware outputs.
- Versatility: Its multimodal capabilities mean you can use it for everything from generating code to analyzing multimedia data.
- Scalability: The enormous token context allows for processing long documents or large codebases without losing context.
- Enhanced Developer Productivity: By automating code generation and debugging tasks, it streamlines the software development process.
Getting Started
Prerequisites
Before diving in, ensure you have:
- Python 3.7+ installed.
- An environment set up (using tools like
venvorcondais recommended). - Access to the Gemini API (obtain your API key via Google AI Studio).
Installation and Setup
1. Create a Virtual Environment and Install Dependencies:
Open your terminal and run:
python -m venv gemini_env
source gemini_env/bin/activate  # On Windows, use: gemini_env\Scripts\activate
pip install google-generativeai
2. Configure Your API Key and Import the Library:
In your Python script, set up the Gemini client:
import google.generativeai as genai

# Replace 'YOUR_API_KEY' with your actual Gemini API key.
genai.configure(api_key="YOUR_API_KEY")
model = genai.GenerativeModel("gemini-2.5-pro-exp-03-25")
This snippet imports the necessary library, configures the API key, and sets the model to Gemini Pro 2.5 Experimental.
First Steps & First Run
Before building a full agent, test the model with a simple prompt:
# A simple test prompt
prompt = "Explain the significance of Occam's Razor in simple terms."

response = model.generate_content(prompt)
print(response.text)
Run this script by executing:
python your_script.pyYou should receive a clear, concise explanation of Occam's Razor—a great sign that your Gemini setup is working correctly.
Step-by-Step Example: Building a Simple Agent
Let’s build a simple agent that can answer user queries. This agent will:
- Accept a user prompt.
- Use Gemini Pro 2.5 to generate a response.
- Print the output in a conversational manner.
Step 1: Define the Agent’s Purpose
For this example, our agent will function as a basic conversational assistant.
Step 2: Write the Agent Code
Below is a complete Python script that sets up and runs a basic conversational loop:
import google.generativeai as genai

# Configure the Gemini API with your API key
genai.configure(api_key="YOUR_API_KEY")
model = genai.GenerativeModel("gemini-2.5-pro-exp-03-25")

def ask_agent(prompt):
    """Send a prompt to Gemini Pro 2.5 and return the response."""
    response = model.generate_content(prompt)
    return response.text

def run_agent():
    print("Welcome to the Gemini Pro 2.5 Agent!")
    print("Type 'exit' to quit.\n")
    while True:
        user_input = input("You: ")
        if user_input.lower() == "exit":
            print("Agent: Goodbye!")
            break
        # Process the user input and generate a response
        answer = ask_agent(user_input)
        print(f"Agent: {answer}\n")

if __name__ == "__main__":
    run_agent()
Code Explanation
- Configuration: The script configures the Gemini client using your API key and sets the model to Gemini Pro 2.5 Experimental.
- Function
ask_agent: Sends a user prompt to the model and returns its text response. - Function
run_agent: Implements a simple loop that continuously accepts user input and displays the agent’s reply until the user types "exit".
This step-by-step example demonstrates how to integrate Gemini Pro 2.5 into your application to build an autonomous agent capable of handling user queries.
Final Thoughts
Gemini Pro 2.5 represents a significant leap forward in AI model capabilities, thanks to its advanced “thinking” mechanism, multimodal support, and extended context window. Whether you’re a developer looking to automate coding tasks, a researcher analyzing large datasets, or a content creator exploring new frontiers, this model offers unprecedented power and flexibility.
By following this guide—from installation to building a basic agent—you now have the foundation to experiment further. Leverage the official Gemini presentation and consult the Developer Documentation for additional insights and advanced use cases.
Until the next one,
Cohorte Team
March 26, 2025

